
Author: Alyssa Nicoll, Senior Developer Advocate at Progress
The end goal for any company is to meet the needs of its users. Companies that use software to solve problems/meet user needs are no exception. It is understandable that amidst the daily turmoil of producing and fixing, creating and deploying, it can be easy to lose sight of the primary objective: helping users.
Usability testing your app, during design or while in production, is a way to check its heartbeat. I’d like to make it clear: this isn’t 100% altruistic. If you are a company that has lost sight of the end user because you are too concerned about making ends meet, checking in and ensuring that you are, in fact, meeting the needs you say you are, will undoubtedly lend a hand towards the top line.
Usability Testing Process
There are many companies that specialize in usability testing and larger companies and teams have dedicated personnel on staff to run regular usability tests. But fear not, small teams with little to no resources for usability testing can still run effective tests and gather real feedback from users to improve the apps’ flow and function. They just have to be a bit scrappier about it. Let’s break the usability testing process down into bite-sized chunks.
First, if you don’t have software to test yet, you’ll need a prototype to test on. Next, and potentially the hardest part of this entire process, you will need to come up with questions to ask the users. But not just any questions, they must be the right questions. Then, you need to find users to test and conduct the interviews. And finally, you need to analyze the results of your data and make a plan to improve your app(s).
Let’s go into each of these steps.
Step 0: Prototyping
Skip this step if you already have an app in production.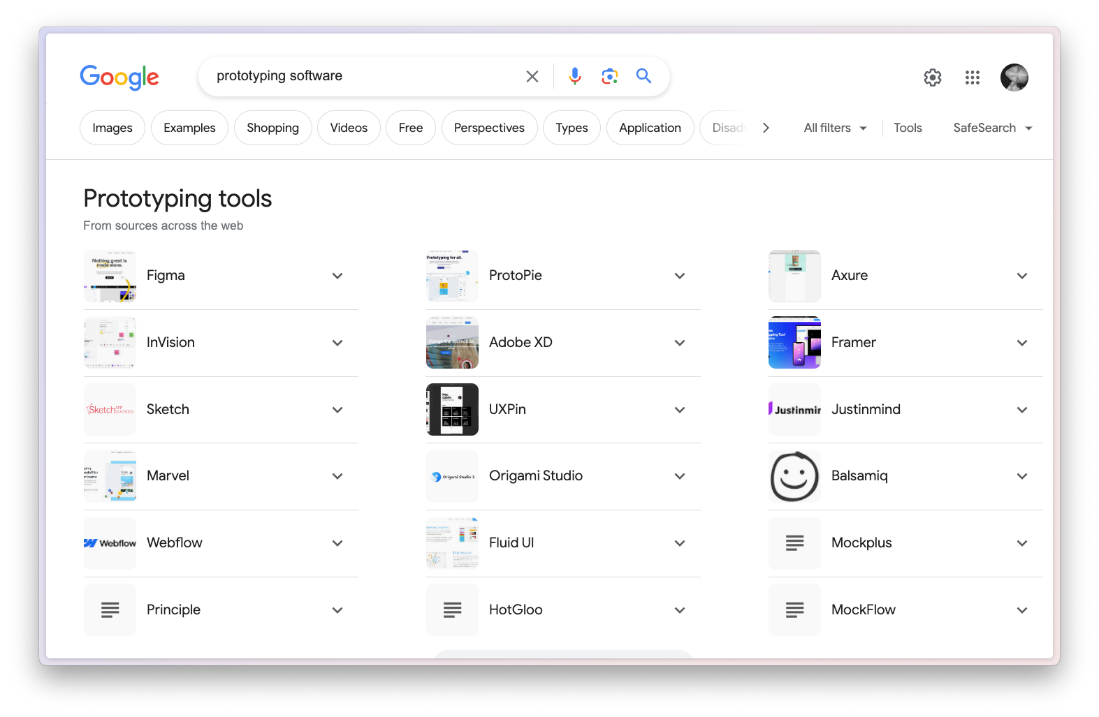
Quick Google search of current prototyping tools
Here is a quick search I did for the current “top prototyping applications.” There are so many tools out there for prototyping, whether you are in the design phase of a brand-new app, or perhaps creating a feature that you will be adding to an existing app. I’ve used many of them and they each have pros/cons depending on your price point.
Step 1: The Questions
If you don’t ask the right questions, all of this is for naught. Limit your questions to one task or work flow you’d like to highlight. Ask yourself, “what will we be testing Sally on today?” and no, the answer cannot be “our whole app.”
Examples of short and concise tasks for usability testing:
- “Can you please take me to the information about – insert piece of info that should be one or two clicks away and easily accessible on your site-”
- “Would you log in and take me to your favorites list?”
- “Can you show me how to add a new item to the menu?”
Step 2: The Users
Testability users are everywhere and generally cheaper than you think. You can straight up put an advert online asking for a certain demographic to test your app for so many dollars an hour. Alternatively, you could browse your existing users for suitable testing candidates. (Check with your sales team, they might have the perfect testers in mind and a working relationship with them to boot!)
My first career job out of college was at a startup called Code School. Before I was hired on, I volunteered and took part in their user testing for nothing more than free dinner.
My friends and I loved the monthly usability testing sessions that Code School ran, and we were more than happy to give up 4-5 hours to test their site and eat dinner. They would have anywhere from 5 to 20 people come in for these sessions and they would gather data like:
- How long did it take everyone to complete the course?
- Did they get hung up on any questions?
- Were there any bugs that blocked them from completing the course?
- Was everything understandable?
They didn’t do one-on-one tests during these sessions, but rather gathered specific pieces of info from the group of users. There are benefits to one-on-one that a larger group testing like this wouldn’t cover. But if you don’t have money to offer participants to come in and test for a couple of hours, sometimes things like swag, stickers, T-shirts or even gift cards can be incentive enough. You can use family and friends as well to test usability, but the more people you test and the broader the demographic, the more accurate, reliable and actionable your results will be.
Make sure you mix your demographic as much as possible (within the parameters of your user-base, of course.) For instance, if you have PWA that mainly services people on small rural farms with little to no internet connection, then having someone remote in for a usability test from the city with fiber internet wouldn’t be a great demographic for your test.
Step 3: The Interview
You can do the interview remotely or in-person. There are pros/cons to each. Remote is nice because the user has their own device in the comfort of the location of their choice. The font size will be how they prefer it. The light/dark mode will be how they prefer it. The temperature will be how they prefer it. The internet connection will be how they expect it to be. They will have fewer obstacles to distract them from the true test at hand – the usability of your software. Remote even allows you to cast a wider net and test users who would not otherwise be available for testing.
In-person has its own benefits. You might be able to catch people who are on their way home from the office or during their lunch break. In-person also allows you to notice additional things you might otherwise miss. Watching someone in-person attempting to achieve a task can often illuminate questions you didn’t know you needed to ask.
If you are in-person or remote, it’s good to open the interview by thanking them for their time, introducing yourself and outlining the goal of the test and how long it will take. If you can bring in a third person, this is often helpful for note taking and then re-hashing the results afterward with someone who was in the room.
Step 4: The Analyzing and Action
It’s important to note that you shouldn’t drastically make changes to a feature or flow based on the results of one user test. As I mentioned before, one user test is way better than none, but the more you have, the more actionable your results will be. It will be up to you and your team to decide how to move forward with the feedback you are given. But even if you don’t take immediate action, you and your team will be better equipped with real feedback on how you are solving your users’ problems and the speed bumps that exist in that flow.
Usability testing isn’t for the extremely wealthy or enterprise companies only. Even as a smaller company or startup, you can accomplish user testing with little resources. Remember, the more users, the better. But one user test is better than none. And simply making the attempt at user testing will show you areas in your application that need attention. Cheers, and here’s to better usability.